WHAT’S NEEDED
- Brand new microfiber towels
- Applicator pads
- Wax & grease remover or denatured alcohol
- Adequate lighting
- Timer
- Gloves
- Face Mask
Installing Undrdog Pro Plus is pretty straightforward. Let’s go through the steps.
TO START
1- First, prep the surface. Wipe it with denatured alcohol or a body shop wax & grease remover using fresh microfiber towels. Once finished you may begin coating.
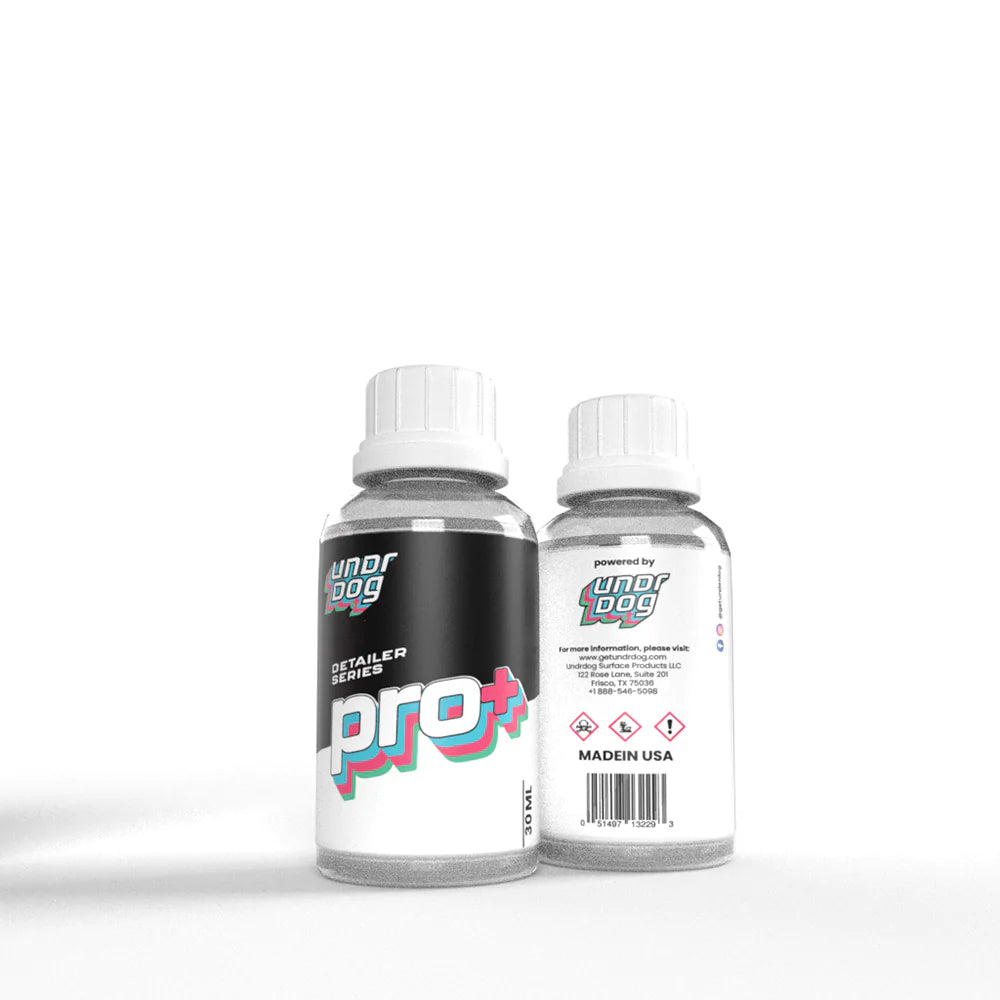
2- Drip as many drops of Undrdog Pro Plus as it takes to get your applicator pad fairly saturated (generally ±30). Apply more product to the pad as needed throughout the process to maintain an even coating.
3- To begin, apply the coating to one panel in a cross-hatch (#) motion. This means moving the applicator pad in a vertical and then horizontal motion to ensure total coverage.
4- Once the area is coated, wait 2-3 minutes before using fresh microfiber towels to buff away the residue. We recommend the three-towel method for this process - if you’re a pro, you know.
5- Allow the coating to dry for 2-5 hours before delivering the vehicle to your client.
IMMEDIATE AFTERCARE
The vehicle should remain dry for at least 24 hours after coating installation and not be washed with strong detergents for at least 5 days. Once the curing process is complete, use a PH-balanced soap for stripping dirt and grime to maintain the coating.
Important: Be advised, using Undrdog Pro + requires previous experience with coating installation.
